How to make Sauerkraut
/
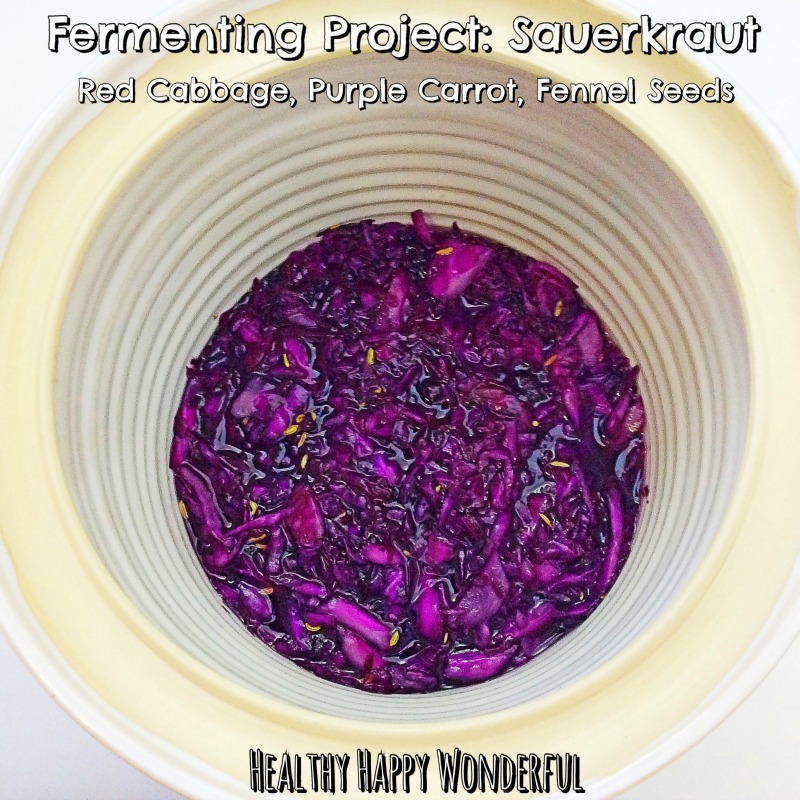
In my kitchen: How to Make Sauerkraut
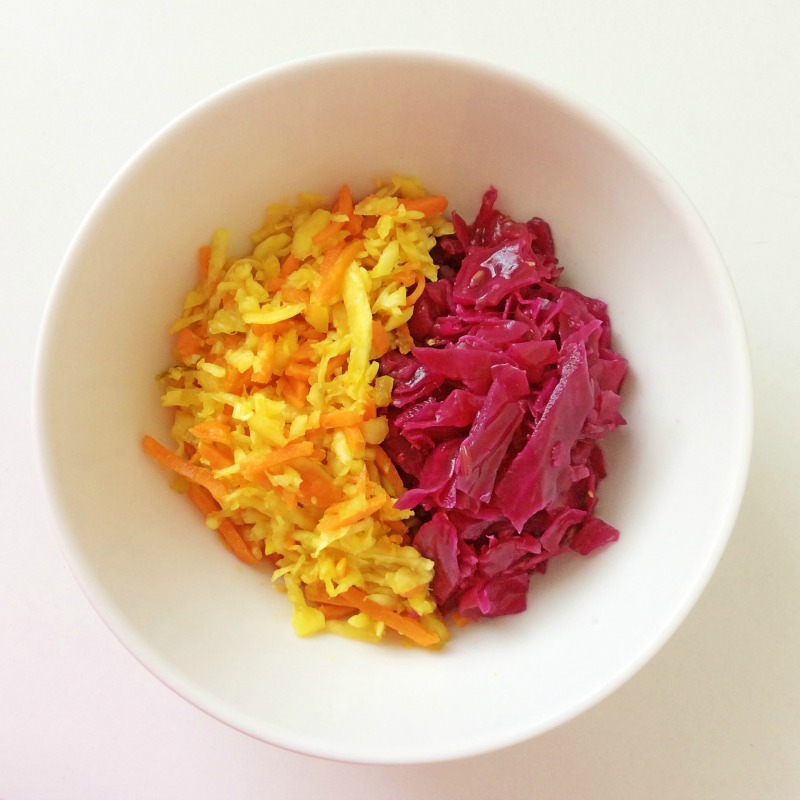
I love fermented foods, and I've written about how important they are for our microbiome here. Fermented foods like sauerkraut are an excellent source of probiotics and phytonutrients. They are especially helpful for people with digestive issues, and you only need to eat 1-2 tablespoons a day! Our sauerkraut is delicious on its own, but also adds wonderful colour, flavour and texture to our salads too!
I had such a block around fermenting for so long because I was worried about giving myself and my husband food poisoning. But it really is super-simple, and the only way you are going to gain confidence is by rolling up your sleeves and practising!
Fermenting is one of those things that is best learned by observation as well as practice, so in addition to this recipe I have also included a couple of excellent "how to" videos at the bottom of this post by the amazing Sandor Katz, author of Wild Fermentation. Note that my recipe differs from Sandor's though. Sandor is into "wild fermentation" which uses the bacteria on the cabbage for the fermentation process, and relies on salt to keep the "bad bacteria' in check.
I'm a much more cautious soul, so I add probiotic powder to my ferments as a bit of "insurance", to boost the population of the good bacteria I want to encourage to grow!
Ingredients
1 cabbage finely sliced
Salt*
1 tablespoon probiotic powder.** Or 6-8 probiotic capsules, broken open. You can use any probiotics you like, just make sure it has some lactobacillus!
Method
Finely slice your cabbage
Place in a large bowl. Add 1-2 tablespoons of salt and massage for up to 20 minutes or until the cabbage is soft and there is a lot of juice in the bowl.
Add the probiotic powder and mix through.
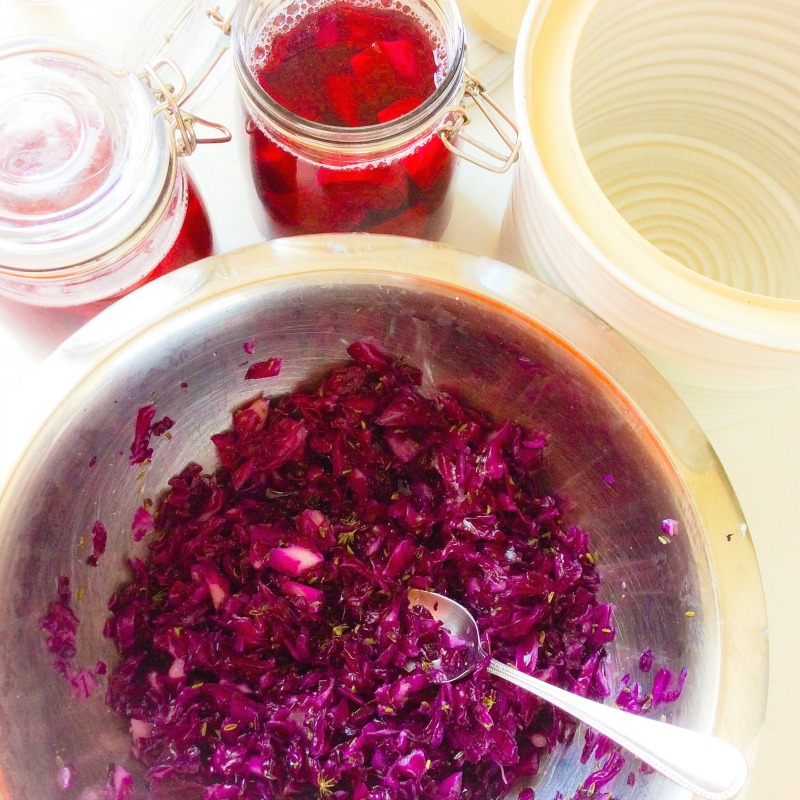
Place mixture in a jar or fermentation crock*** and make sure the cabbage mixture is covered with liquid. Place a weight on top of the cabbage to keep it under water. I often use a carrot.
Place a lid on your cabbage and leave in a cool place for 3-5 days to ferment.
Check your sauerkraut after 3 days, and every day after that, until you are happy with the taste. Home made sauerkraut doesn't taste like the vinegary rubbish you get at the supermarket. I have no idea how many batches I threw away thinking something went wrong, until a friend who is an experienced fermenter came over and tested my batch.
And that's the thing: if you're new to fermenting it is worthwhile calling in a friend who is more confident to give you some pointers or even finding a class.****
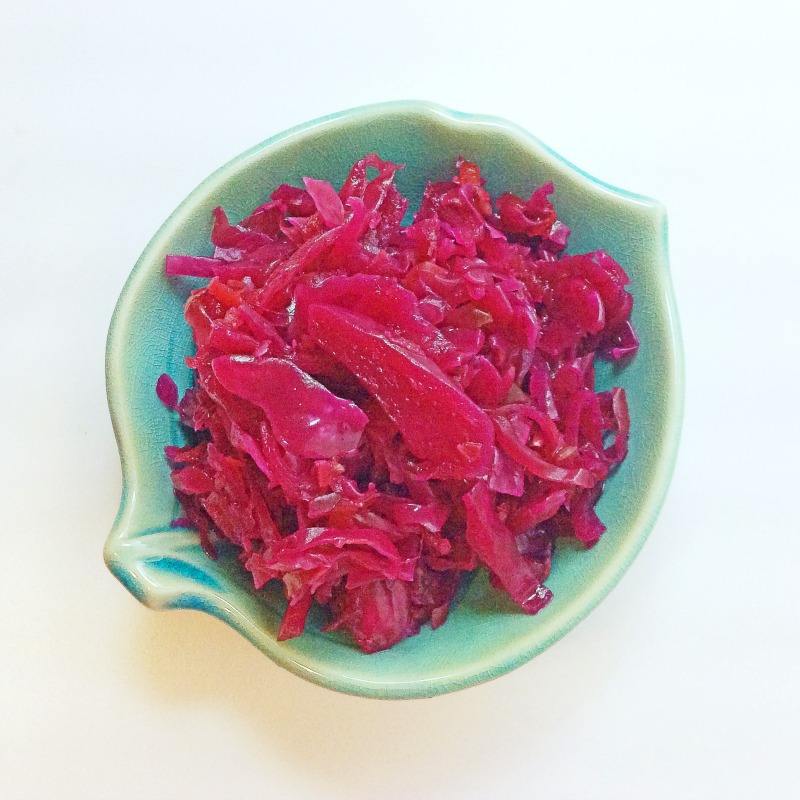
Once your sauerkraut is fermented to your liking, place in a sealed jar in the refrigerator. It should keep for several weeks. Ours never lasts that long!
Once you have mastered basic sauerkraut, experiment with different flavours. I'll post some "fancy" sauerkraut recipes soon!
Notes:
* The salt serves two important purposes in the fermentation process. Firstly, it helps liberate the juice from the cabbage and secondly it helps to keep the "bad bacteria" in check.
** I use probiotic powder in my fermenting projects because I like to give the good bacteria a population boost!
*** If you end up really enjoying fermenting then it's definitely worth investing in a fermenting crock like the one in my pics. You can find them online or in some specialist kitchen supply stores.
**** We will be running some "Introduction to Fermenting" classes over summer. Sign up to our newsletter of you would like to be notified of dates!
If you are new to fermenting and a bit overwhelmed at the prospect of making sauerkraut, I highly recommend you start by making kvass. I call it the "gateway ferment"! It's amazingly simple and will give you the confidence to try bigger fermenting projects! Check out my recipes for beetroot kvass and spicy carrot and ginger kvass!
Here are Sandor Katz's awesome how-to videos. Remember, Sandor doesn't use a culture or starter.