Cauliflower "Fried Rice"
/
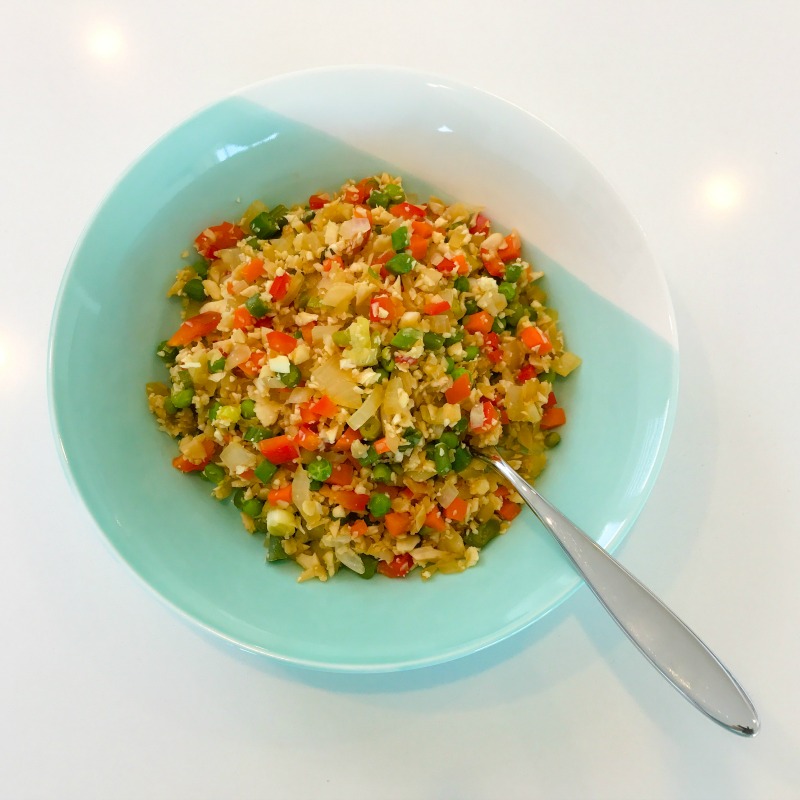
Cauliflower "Fried Rice"
No, this doesn't taste exactly like the stuff you get from your local chinese takeaway, but it's pretty darn good nevertheless and much, MUCH healthier as it's low-carb and packed with a rainbow of super-heathy veggies.
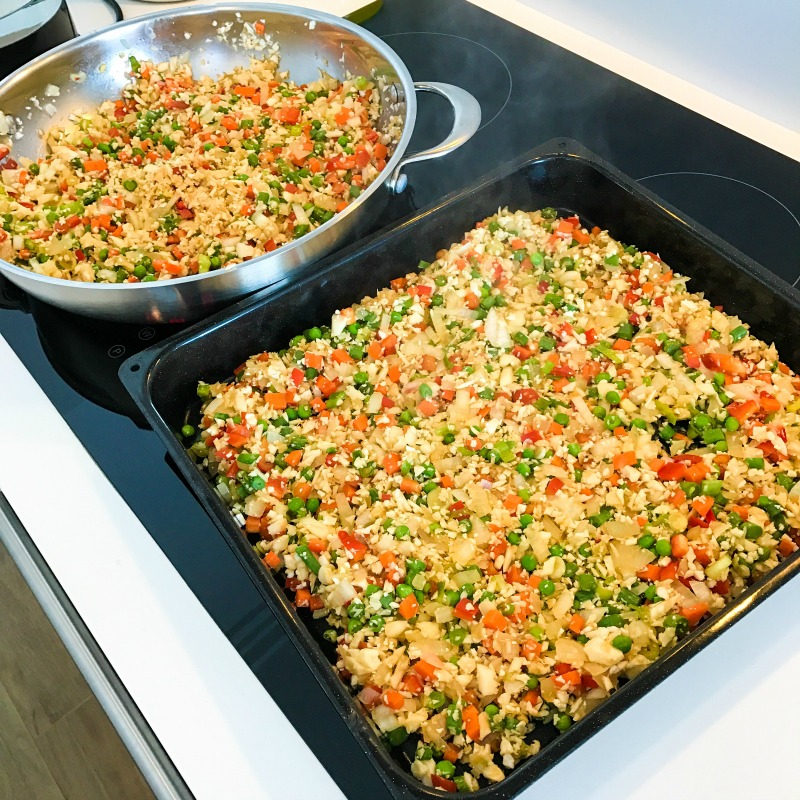
I've experimented with a few different ways of making this, and I think I've nailed it! When you make cauliflower rice in a frying pan it can become wet and gluggy as the cauliflower tends to release moisture. My solution to this is to start cooking it on the stove and then transferring it to a baking tray, spreading it out and letting it dry out in the oven. It's one extra step and a bit more washing up, but I think this gives the best result!
Ingredients
1 cauliflower, washed and cut into florets
1 large red capsicum, finely diced
1 large or 2 small carrots, diced
1 large onion, diced
1-2 cloves garlic, crushed
1 1/2 cups frozen peas
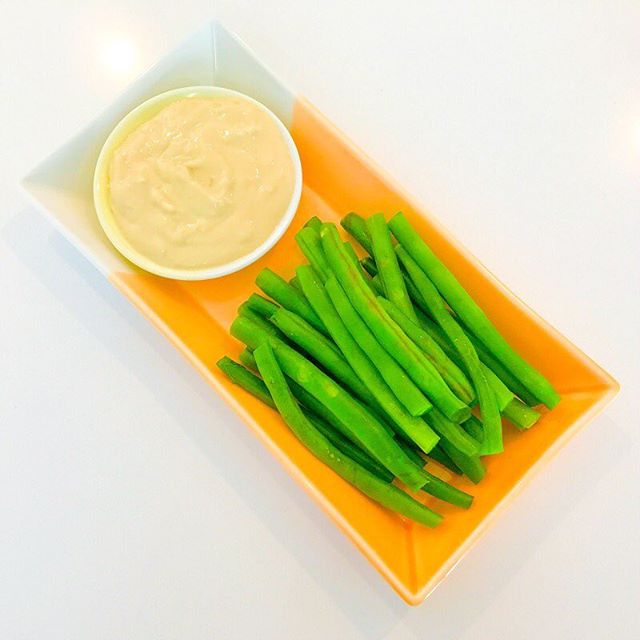
100g green beans, finely sliced
4 tablespoons olive oil
4 tablespoons lite soy sauce
2 tablespoons sesame oil
Method
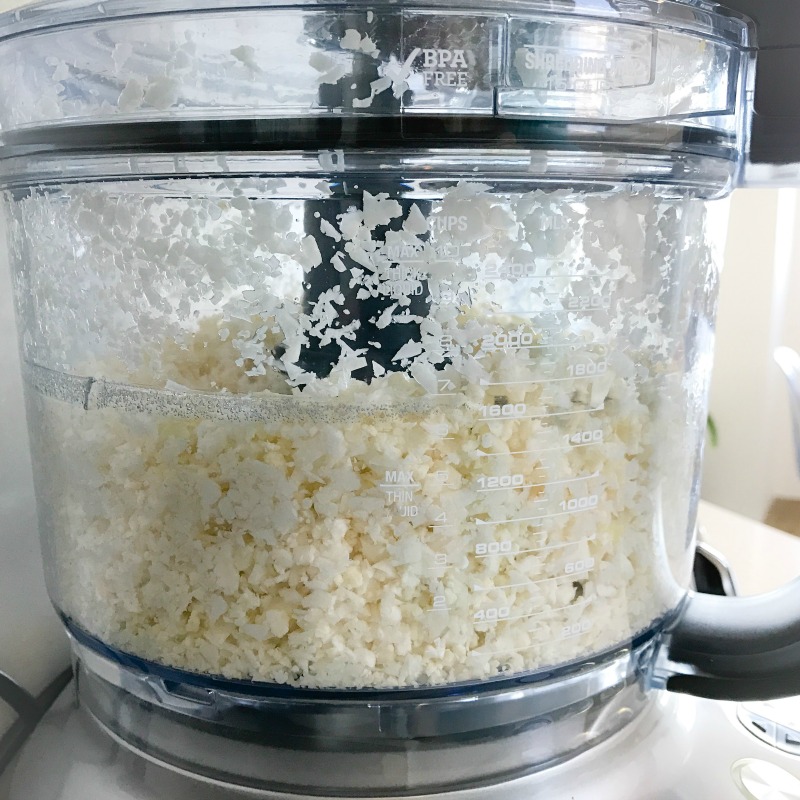
Place the cauliflower florets in a food processor and give it a few one-second pulses until it becomes "rice". How many times you will need to pulse will depend on what food processor you have. Remember: less is more! Don't take it too far. You want rice-sized cauliflower bits, not sand-sized!
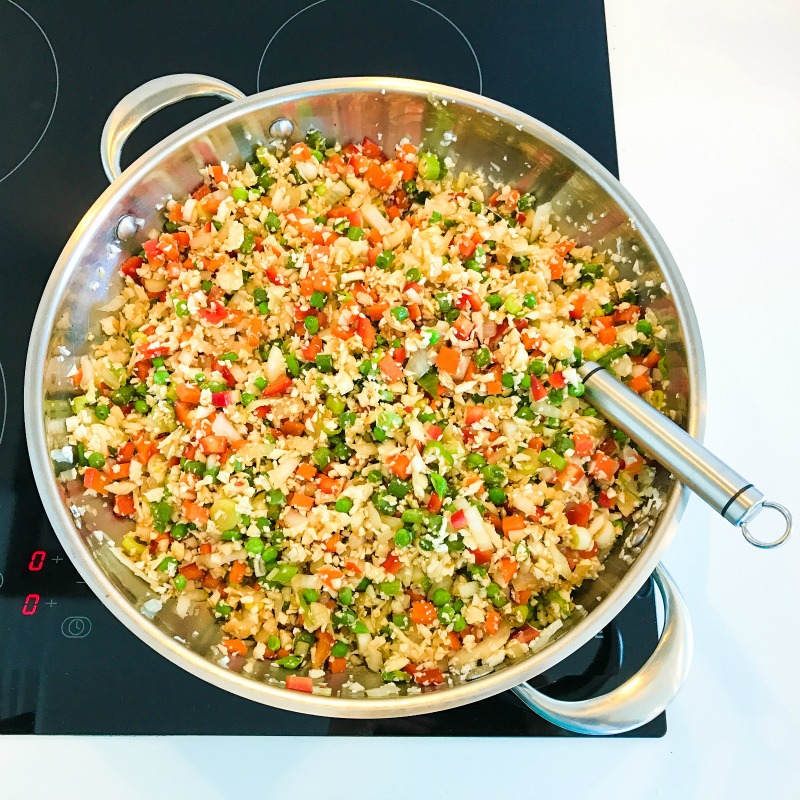
Place the onion and garlic in a large frying pan with one tablespoon of olive oil and saute over medium heat until translucent.
Add all veggies except cauliflower and stir fry for a few minutes.
Add in the cauliflower "rice" and stir everything to combine.
Add in the soy sauce, sesame oil and the remainder of the olive oil and stir fry for 7-10 minutes or until the cauliflower starts to release some liquid.
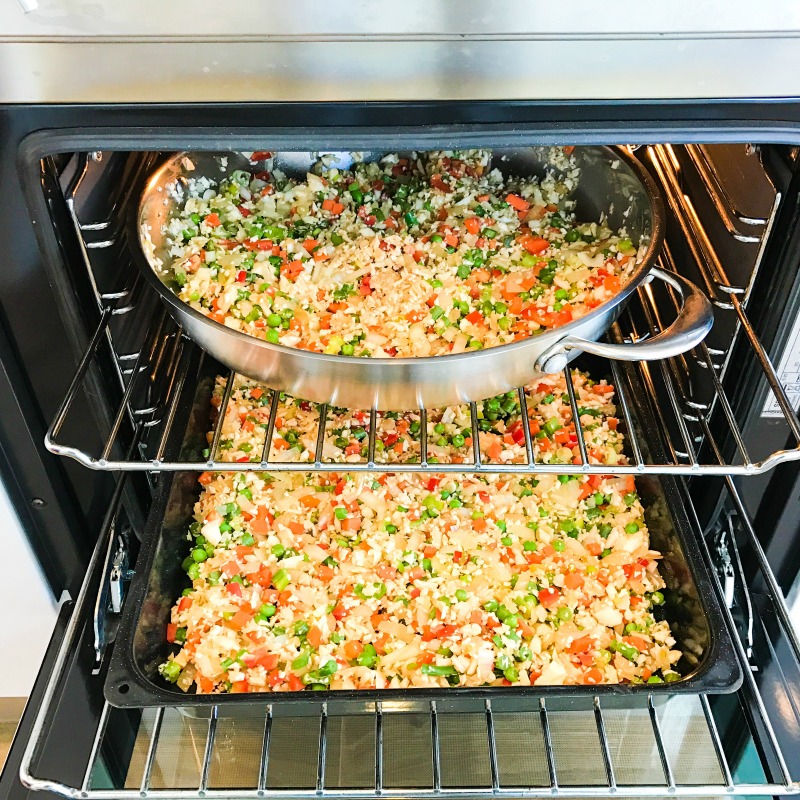
Once it reaches that stage I spoon the cauliflower rice into a baking tray (or two!) - making sure to leave the excess moisture behind! - and transferring into a pre-heated oven (180 degrees celsius) for 15-20 minutes.
Make sure you check it and give it a stir after 10-15 minutes to make sure it doesn't burn.
Serve and enjoy!
Check out my step-by-step pics below: